Nutrition
Set macro targets, build meal plans, and track client nutrition.
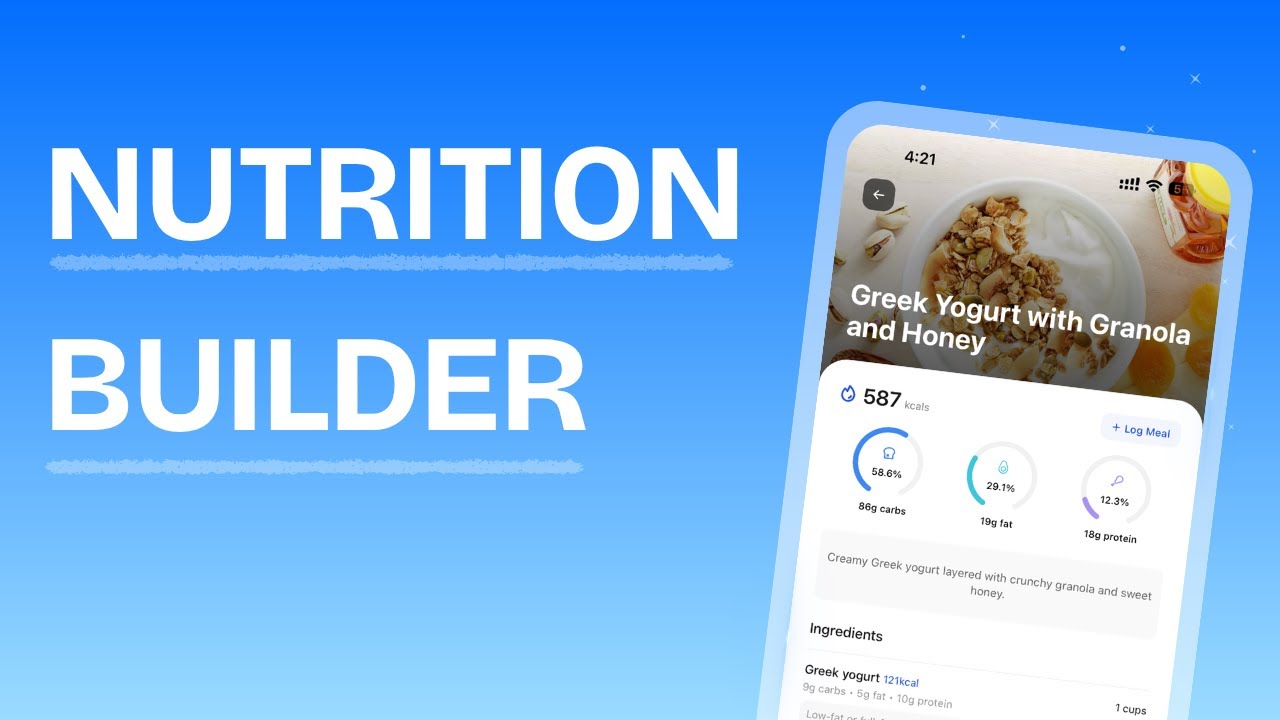
Nutrition Overview
HubFit gives you a full set of nutrition tools to create meal plans, manage foods, and monitor what your clients are eating.
Your Nutrition page has three tabs:
- Plans — Create and manage meal plans for clients or your library
- Meals — Build reusable meal templates with recipes and macros
- Foods — Create custom foods and share them with clients
From these tabs you can:
- Create structured meal plans or macro-based plans
- Generate plans instantly with the Smart Meal Planner
- Import meals from the HubFit Recipes database
- Build a personal food and meal library
- Share foods directly to your clients' nutrition trackers
- Assign plans to individual clients
- Track client food logs and macro compliance
When you open a client's Nutrition page, you'll see a different set of tabs:
- Meal Plans — The plans assigned to this client
- Nutrition Logger — Their daily food logs and macro compliance
- Cronometer Logger — Synced data from Cronometer (if connected)
Meal Plans
When you create a new plan, you choose one of two plan types:
Meal Plan
A structured day of eating with specific meals, foods, portions, and cooking instructions.
Each plan can contain up to 10 meal blocks (e.g. Breakfast, Lunch, Dinner, Snack). Within each meal block, you can add up to 4 meal options so your client can choose between alternatives.
Each meal option includes:
- A list of foods with exact quantities and macros
- An optional meal image
- Cooking instructions
- Serving size and assigned servings
Macros Plan
A plan based on macro targets rather than specific meals. When you select Macros Plan, you'll see a toggle between two modes:
Total Macros — A single set of daily macro targets (protein, carbs, fats). Calories auto-calculate. Add an optional description with guidance for your client.
Macros by Meal — Macro targets broken down per meal slot. You can add as many meal slots as you need (e.g. Breakfast, Lunch, Dinner, Snacks), each with its own protein, carbs, and fat targets. Each slot also supports an optional note.
Creating a Meal Plan
Creating a Macros Plan
Total Macros
Macros by Meal
Smart Meal Planner
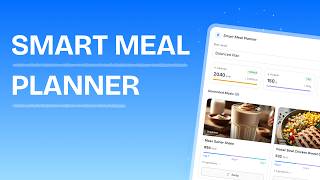
For a video overview, see Smart Meal Planner
The Smart Meal Planner uses HubFit's smart system to generate a complete meal plan from over 5,000 recipes based on your calorie and macro preferences.
How to use it
Calorie goal — Set the daily calorie target (default: 2000, range: 800-6000)
Macro split — Choose a preset or set custom percentages:
| Preset | Carbs | Protein | Fats |
|---|---|---|---|
| Balanced | 40% | 30% | 30% |
| High Protein | 30% | 40% | 30% |
| Low Carb | 20% | 40% | 40% |
| Keto | 5% | 25% | 70% |
| Low Fat | 55% | 25% | 20% |
| Custom | Your own percentages (must total 100%) |
Total meals — Choose the number of meals: 3, 4, 5, or 6. Each option distributes calories across meal slots:
| Structure | Distribution |
|---|---|
| 3 Meals | Breakfast 30%, Lunch 35%, Dinner 35% |
| 4 Meals | Breakfast 25%, Lunch 30%, Snack 15%, Dinner 30% |
| 5 Meals | Breakfast 20%, Morning Snack 10%, Lunch 30%, Afternoon Snack 10%, Dinner 30% |
| 6 Meals | Breakfast 17%, Morning Snack 8%, Lunch 25%, Afternoon Snack 8%, Dinner 25%, Evening Snack 17% |
Options per meal — Choose 1 to 4 alternatives per meal slot
Dietary restrictions (optional) — Filter by: Keto, Vegetarian, Vegan, Pescatarian, Gluten-Free, Dairy-Free, Nut-Free, Paleo
Food and Meal Library
Your Food Library lets you create custom foods that you can use in meal plans or share with clients.
Creating a food
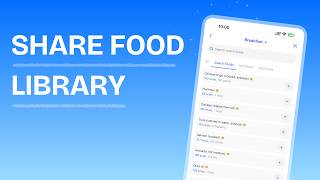
For a video overview, see Share Your Food Library with Clients
Sharing foods with clients
Managing Your Meal Library
Your Meal Library stores reusable meal templates that you can import into any client's meal plan.
HubFit Recipes
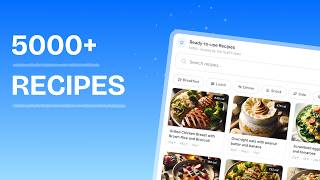
For a video overview, see HubFit Recipe Library (5,000+ Recipes)
HubFit Recipes is a built-in database of over 5,000 recipes, each with cooking instructions, images, individual foods with macros, and dietary info tags. You can import any recipe into your Meal Library or use them directly in meal plans.
How to access
Searching and filtering
Search — Type a recipe name in the search bar
Quick filters (pill buttons) — Breakfast, Lunch, Dinner, Snack, Side, Dessert, Smoothie/Shake, Pre-workout, Post-workout
Advanced filters (via the Filters button):
| Category | Options |
|---|---|
| Diet | Vegetarian, Vegan, Gluten-free, Dairy-free, Keto, Paleo, High protein, Low carb, Low calorie, Low fat, Low sugar, High fiber, High fat, Nut-free, Pescatarian, Whole30 |
| Difficulty | Easy, Medium, Hard |
| Cuisine | American, Mediterranean, Asian, Mexican, Italian, Indian, Middle Eastern, British |
| Tags | Quick, One pot, No cook, High volume, Bulk friendly, Cut friendly |
Sort by — A-Z, Cal: Low-High, Cal: High-Low, Most Protein
Importing a recipe
Recipe Books
Recipe Books let you create curated recipe collections from your Meal Library and share them with clients. You can organize recipes into sections, choose display formats, and grant or revoke access per client.
Macro Targets and Client Nutrition
Macro targets set daily nutritional goals that appear in your client's nutrition tracker.
How to set targets
Rest Day Macros
When you select Rest Days:
Your client's tracker will automatically show the correct targets based on the day of the week.
Viewing Client Nutrition Logs
You can review what your clients are eating from the Nutrition Logger tab on their profile.
Cronometer Integration
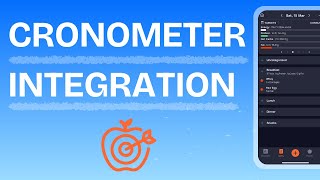
For a video overview, see Cronometer Integration
HubFit integrates with Cronometer as an alternative to the built-in nutrition tracker. Clients who prefer Cronometer can connect their account and have their nutrition data sync to HubFit automatically.
How clients connect
Clients go to Settings > Integrations in the app, find Cronometer, and sign in to authorize HubFit. Once connected, their Cronometer diary syncs to HubFit.
Coach view
Once a client has connected Cronometer, a Cronometer Logger tab appears on the client's Nutrition page. You can view their synced meals and macros in the same weekly format as the standard Nutrition Logger.
Nutrition Tracker
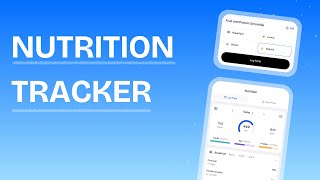
For a video overview, see In-App Nutrition Tracker
The nutrition tracker lets clients log everything they eat and track daily macro intake. Clients can search a food database, scan barcodes, create custom foods, save reusable meals, and log meals directly from their coach-assigned meal plan.
How clients log food
Clients tap the Add Food button on any meal block (Breakfast, Lunch, Dinner, Snacks) and choose from: All (search the full database), My Meals (saved meals), My Foods (custom foods), or Coach Foods (foods you have shared). They select a food, choose a serving size, adjust servings, and confirm. Daily totals update automatically.
Clients can also Copy Previous Day to duplicate yesterday's log, Reset Day Log to clear all entries, or view a Macros Breakdown for a detailed daily summary.
Logging meals from a meal plan
Clients can log a coach-assigned meal directly to the tracker instead of adding each food individually. They open the meal from the Meal Plans tab, tap Log Meal, adjust servings if needed, and confirm.
Barcode scanning
Clients can tap the barcode icon when adding food and point the camera at a food package. The app fetches the nutritional information automatically. If a barcode is not recognized, they can create a custom food entry or enter the barcode number manually.
Custom foods and saved meals
Clients can create custom foods with full macro details from the My Foods tab. They can also save combinations of foods as reusable meals from the My Meals tab - useful for meals they eat regularly.

Frequently Asked Questions
What is the difference between a Macros Plan and Macro Targets? A Macros Plan is a nutrition plan you assign to a client from the Meal Plans tab. Macro Targets are the daily goals that appear in the client's nutrition tracker, set from the Nutrition Logger tab. Creating a macros plan does not automatically set macro targets in the tracker - you must set them separately.
Why are my client's macro targets not showing in the tracker? Macro targets must be set from the client's Nutrition Logger tab using the Macros Target button. If you only created a Macros Plan from the Meal Plans tab, the targets will not appear in the tracker.
Can clients use Cronometer instead of the HubFit tracker? Yes. Clients can connect their Cronometer account from Settings > Integrations in the app. Their Cronometer nutrition data syncs to HubFit automatically, and you can view it from the Cronometer Logger tab on the client's profile.
Does Cronometer data count toward nutrition challenges? No. Nutrition challenge progress only counts food logged through the HubFit in-app nutrition tracker. Cronometer data does not count.
How do I share my custom foods with clients? Go to the Foods tab, click Food Access, and move foods from the Your Foods panel to the Shared panel. Shared foods appear in your clients' tracker under the Coach Foods tab.
Can clients scan barcodes to log food? Yes. Clients can tap the barcode icon when adding food to scan packaged items. If a barcode is not recognized, they can create a custom food entry manually.
How do rest day targets work? When you set rest day macros, the tracker automatically shows the correct targets based on the day of the week. Clients do not need to switch anything - training day targets appear on training days and rest day targets appear on rest days.
Can clients log food for previous days? Yes. The tracker has a date selector that lets clients log food for any day, not just today.
Can clients upload photos of meals in the nutrition tracker? No. The nutrition tracker does not support meal photos from the client side. Coaches can add images to meals they create from the web. For food journal photo tracking, use a check-in form with a Media question type.
Is the food database available in languages other than English? The food database is only available in English. The barcode scanner picks up foods in any language, but they are displayed in the language they were originally stored in. You can also create custom foods in any language and share them with clients using the Food Access settings.
Is the Smart Meal Planner available in languages other than English? No. The Smart Meal Planner only supports English as it uses HubFit's recipe library, which is English-only.
Can I enable food tracking without showing clients calorie and macro numbers? No. There is no way to hide calories and macros from clients when the nutrition tracker is enabled.
Can I export or download a meal plan as a PDF? No. Exporting meal plans as PDF is not supported.
Did this answer your question?